- Overview
- Adding the First Storage
- Routing Application Traffic Through Flexify.IO
- Adding Additional Storages
- Setting Default Storage
- Moving Your Data
Overview
Commoditization of cloud storage makes many people think that their initial choice of storage provider might be far from optimal: performance-wise, feature-wise, price-wise, or all combined.
Unfortunately, cloud providers like lock in, making it harder to migrate elsewhere, not even talking about combining the best offers.
Fortunately, with Flexify.IO you are free to choose where you'd like to store your next GB.

Flexify.IO allows you to have multiple subscriptions with multiple storage providers, while your application sees all the data from all your storages combined in a single bucket.
Data objects your application writes are forwarded to a storage that you designate as your default storage; and changing the default storage can be done in-flight and is a matter of two clicks.
Adding the First Storage
Start by adding the storage where you currently store your data:
- Open Flexify.IO Management at manage.flexify.io
- Switch to Data tab
- Click Add Storage
- Select your storage provider (such as Amazon S3 or Microsoft Azure)
- Enter credentials
You can get your credentials (keys) at your provider's management console:
- For Amazon Web Services: https://console.aws.amazon.com/iam/home#/security_credential
- For Microsoft Azure: https://portal.azure.com
- Click Verify to check the credentials
- Select the bucket where your data is stored
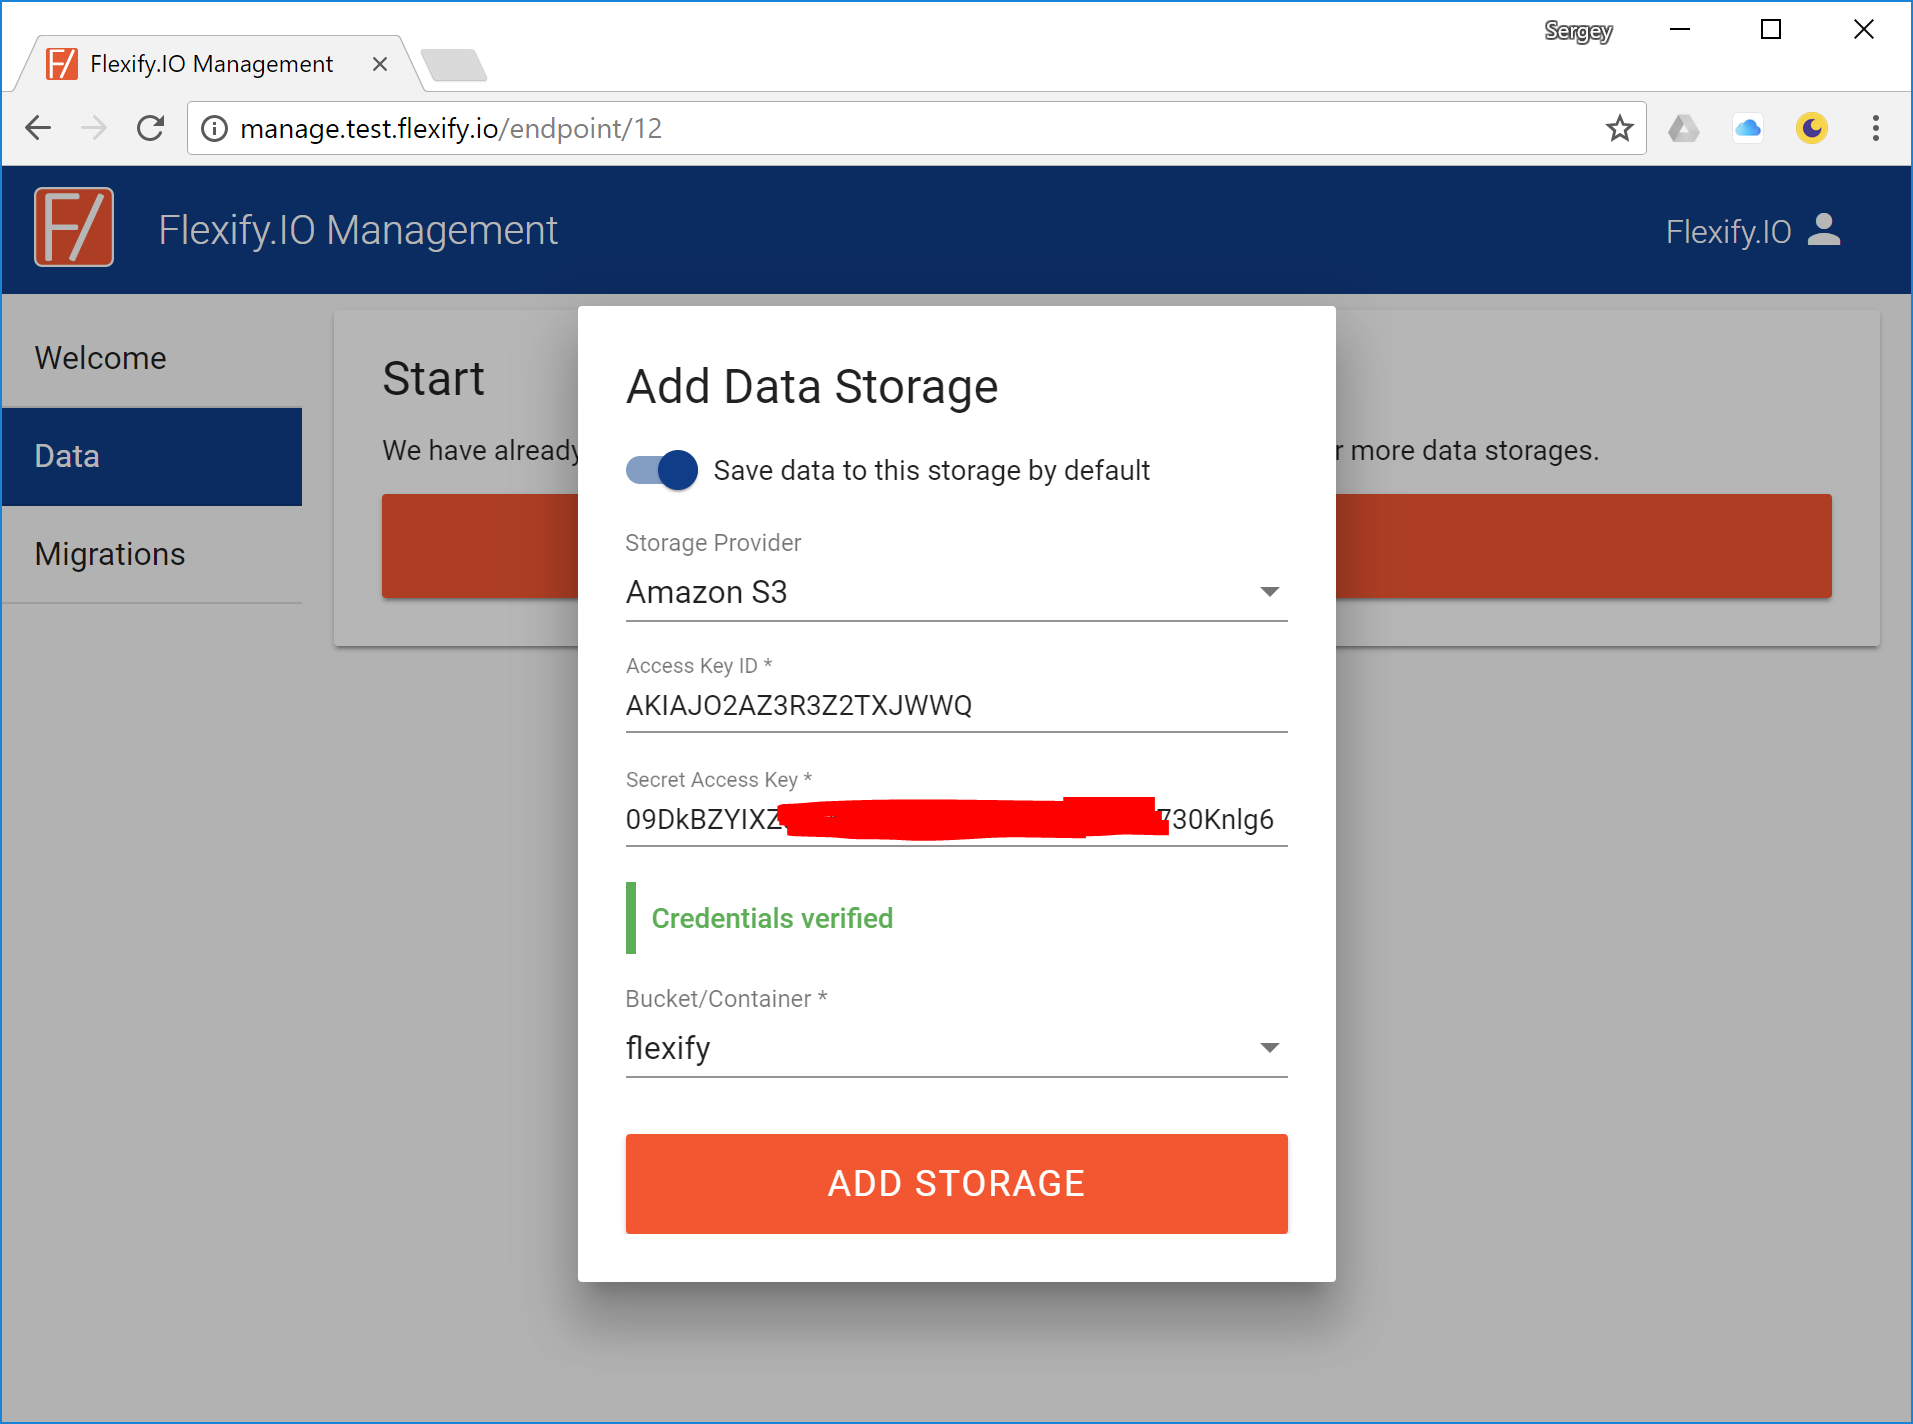
- Click Add Storage to add the storage and close the dialog
Routing Application Traffic Through Flexify.IO
By completing the previous section you've already enabled your Flexify.IO endpoint that would proxy all requests to the storage you added (and convert protocols from S3 to Azure if necessary).
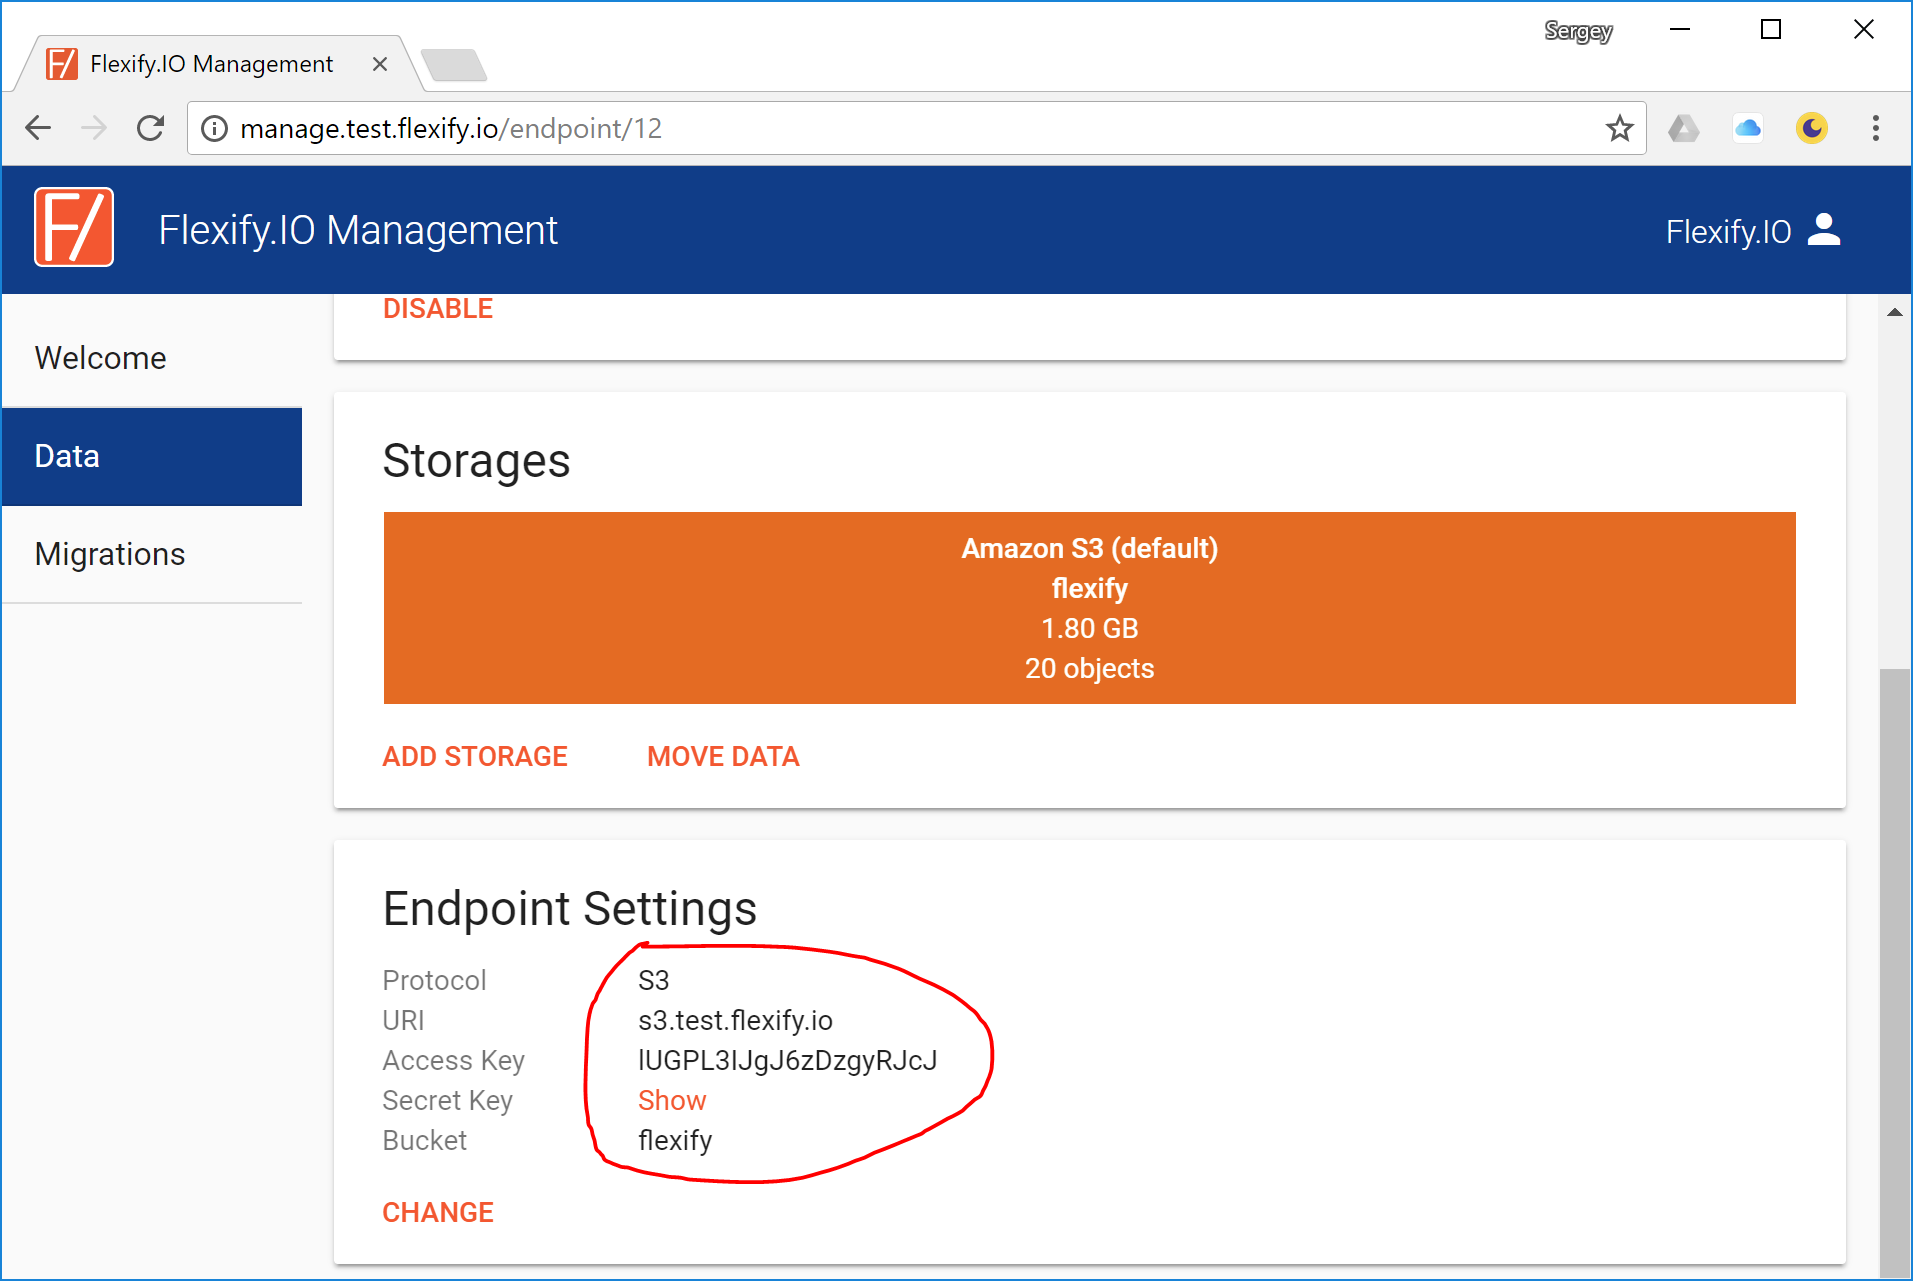
All you need to do now is to tell your application to send requests to s3.flexify.io and use Flexify.IO pair of keys.
You can see the endpoint URI and keys on the Endpoint Settings card.
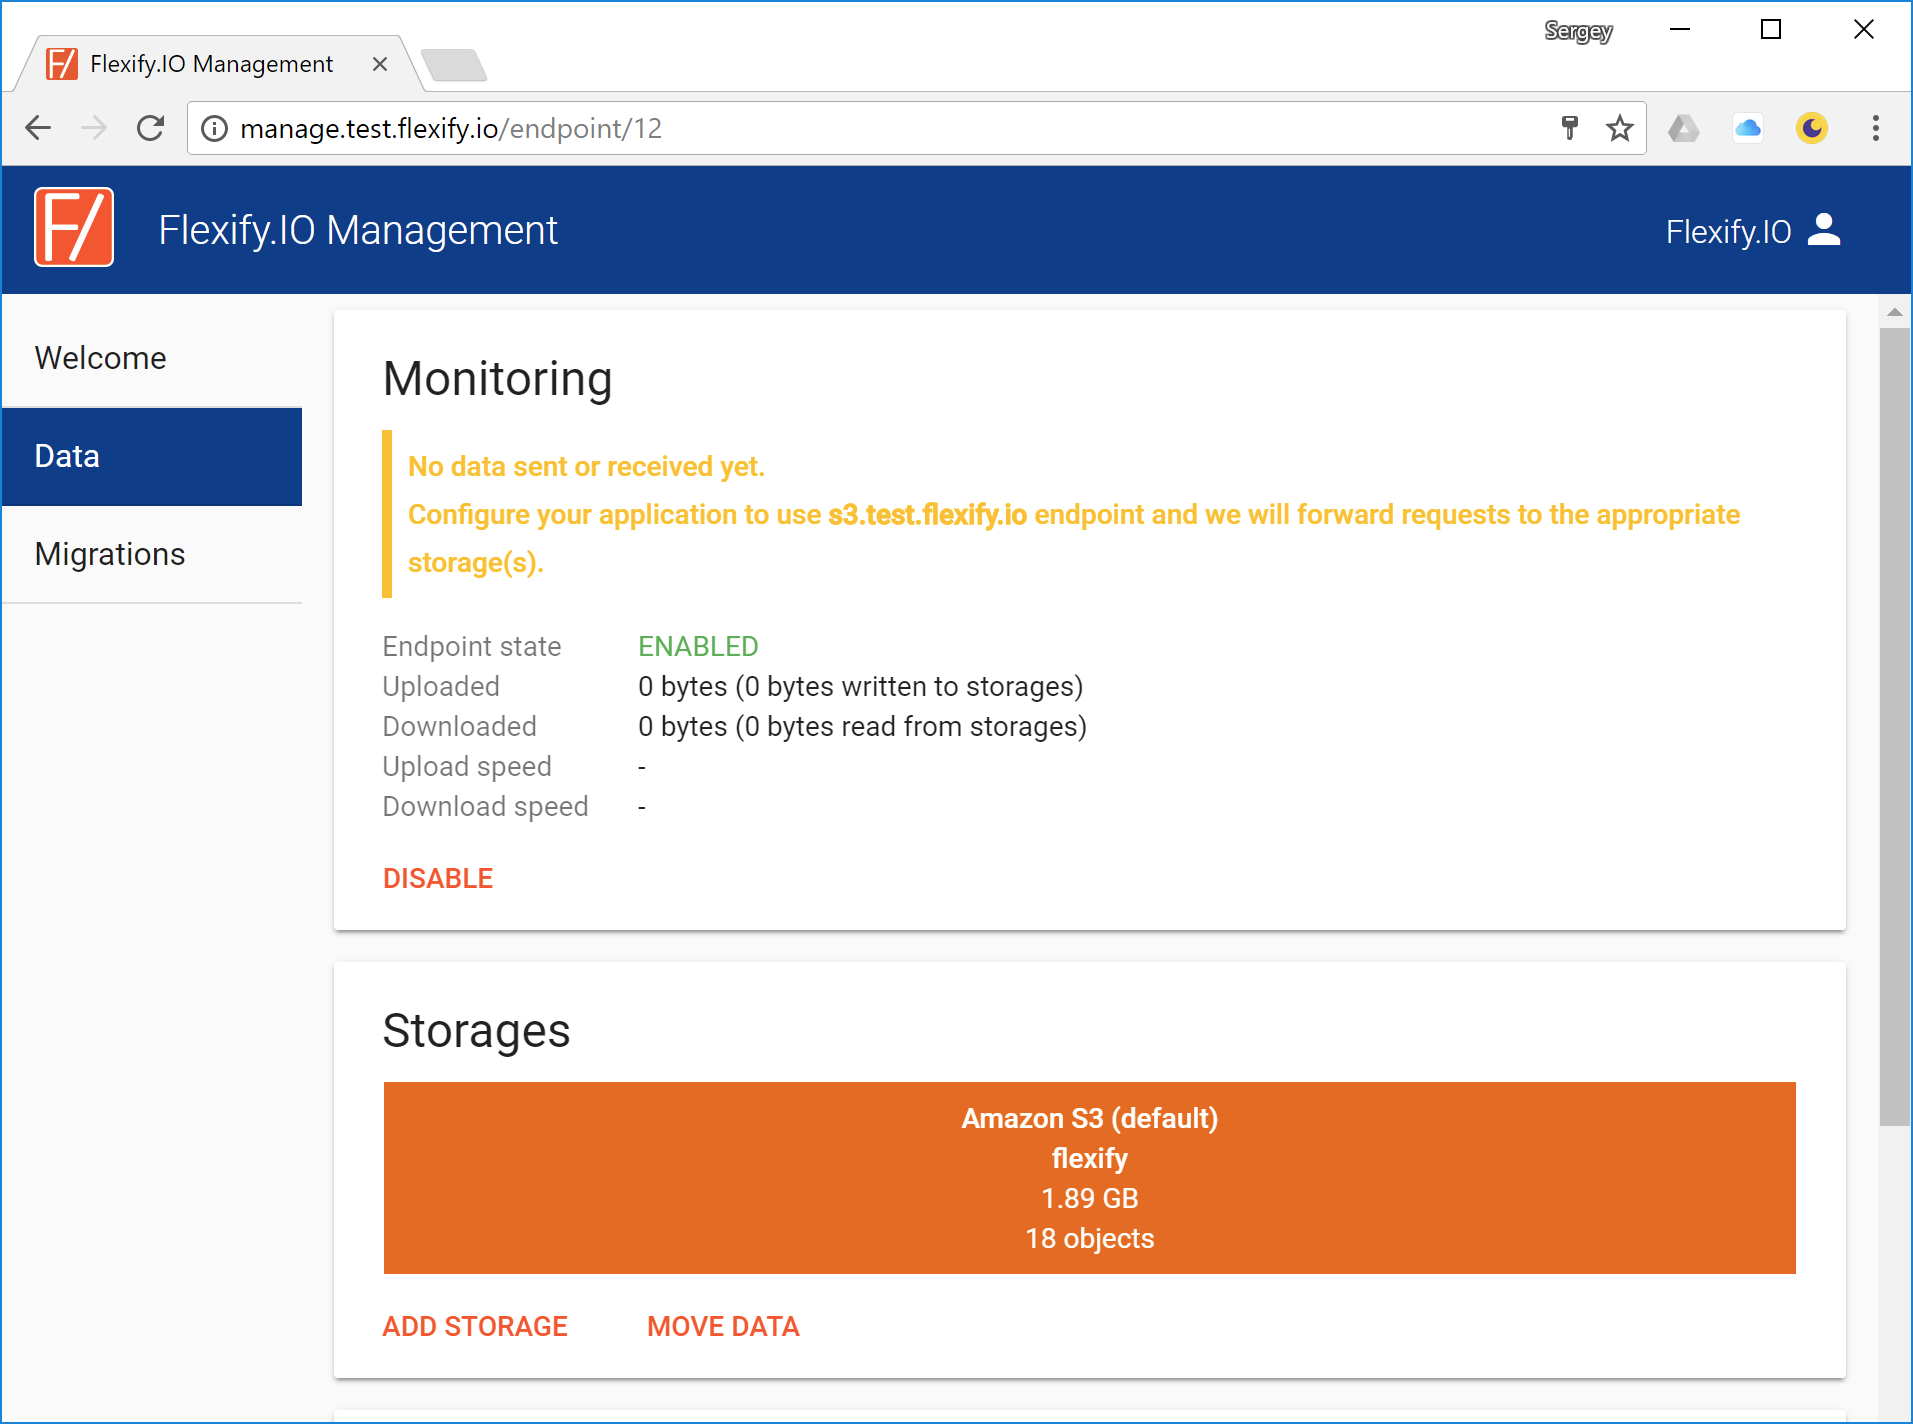
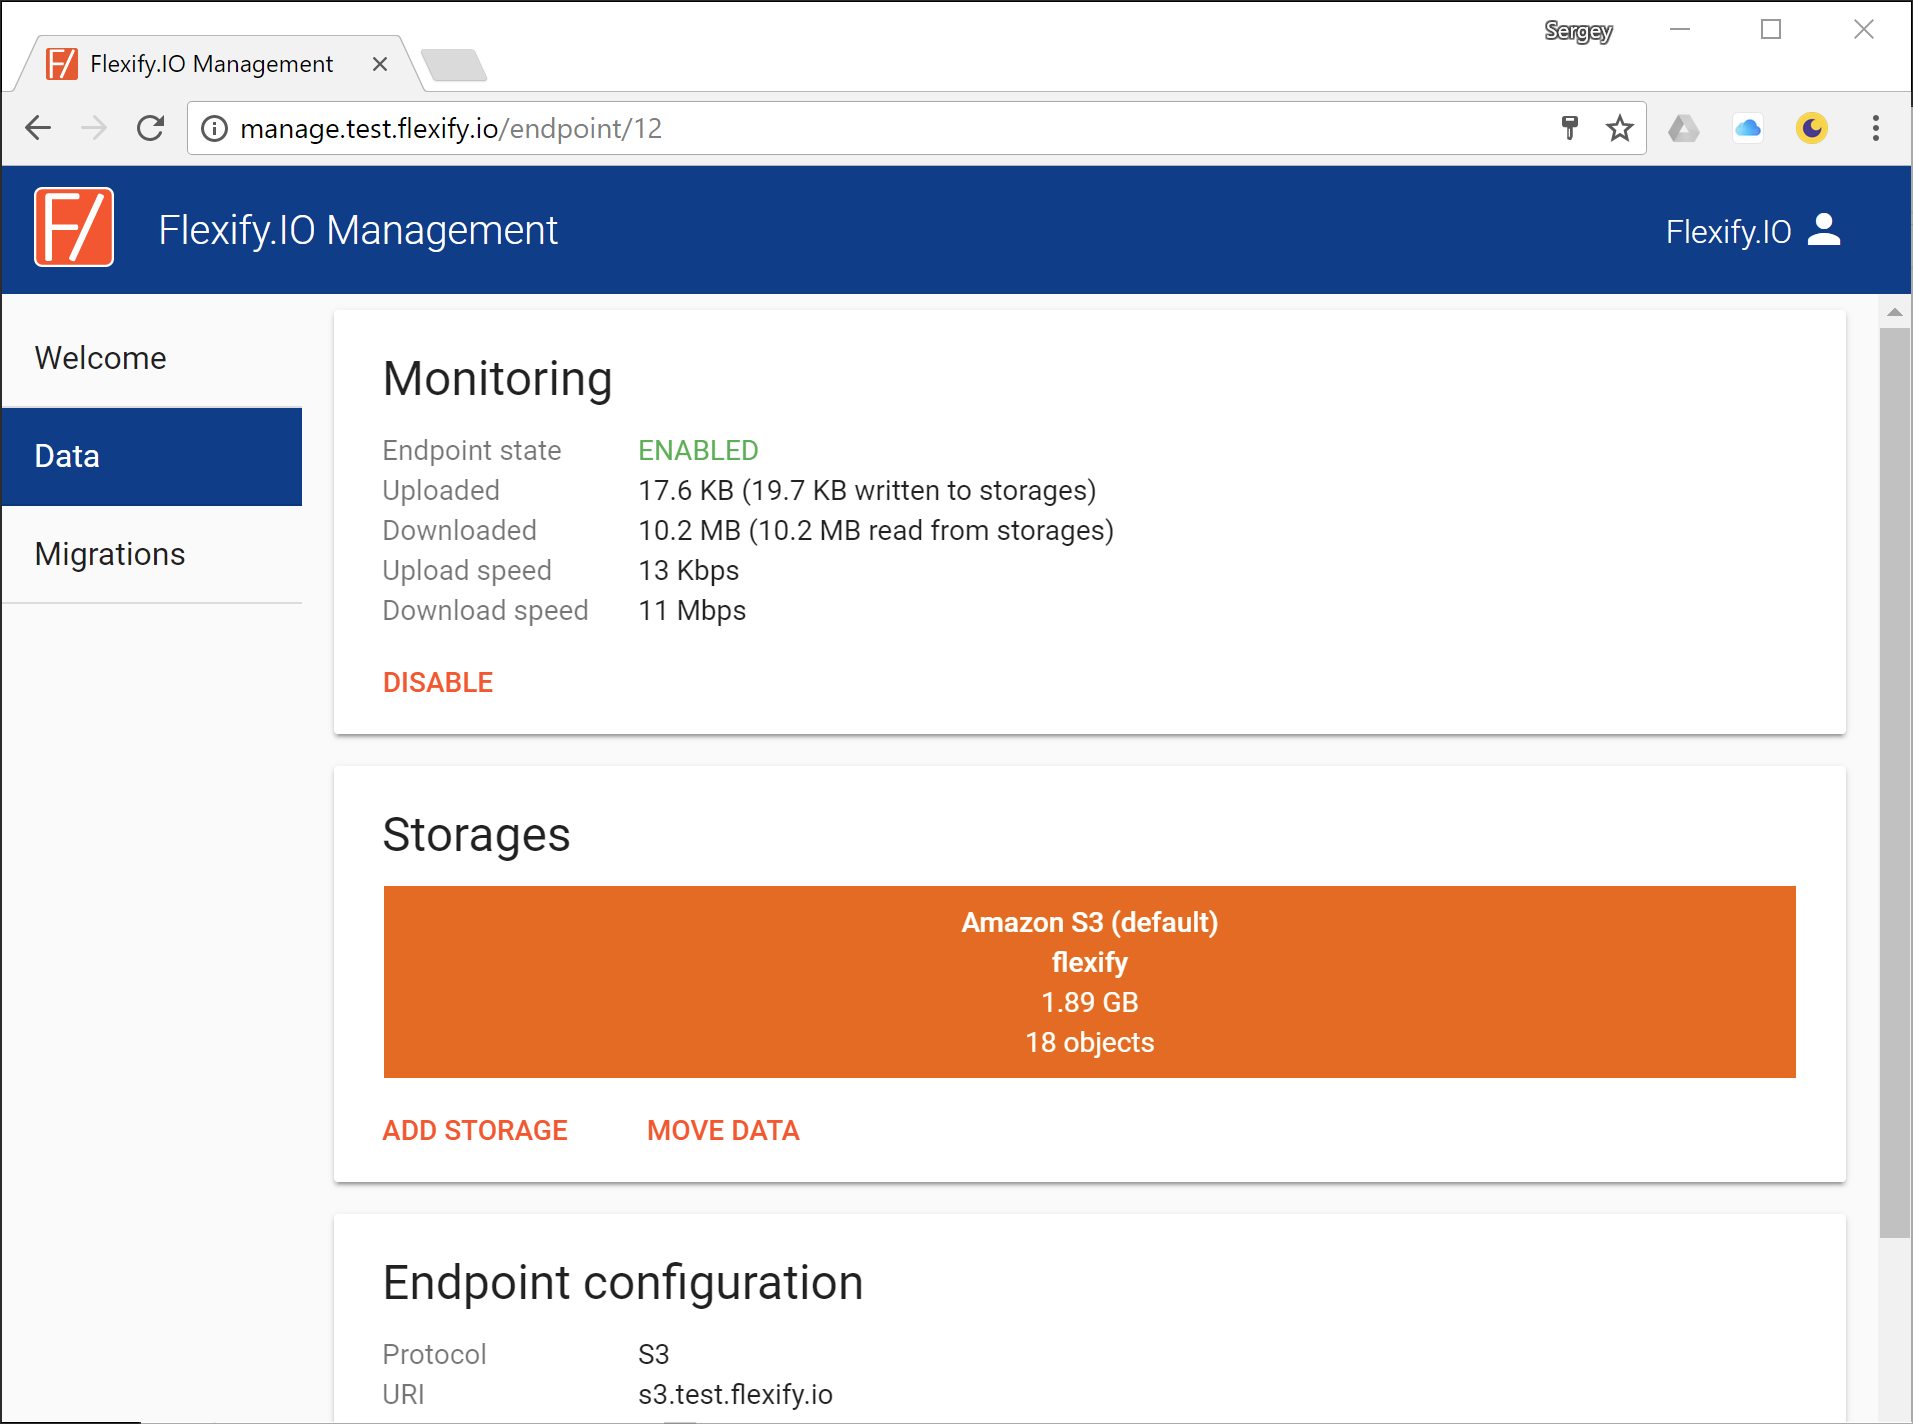
Once your application starts to send or receive data via Flexify.IO – you will see statistics on the Monitoring card.
Adding Additional Storages
To add additional storages, click Add Storageand repeat he steps. You can add as many storages as practical.
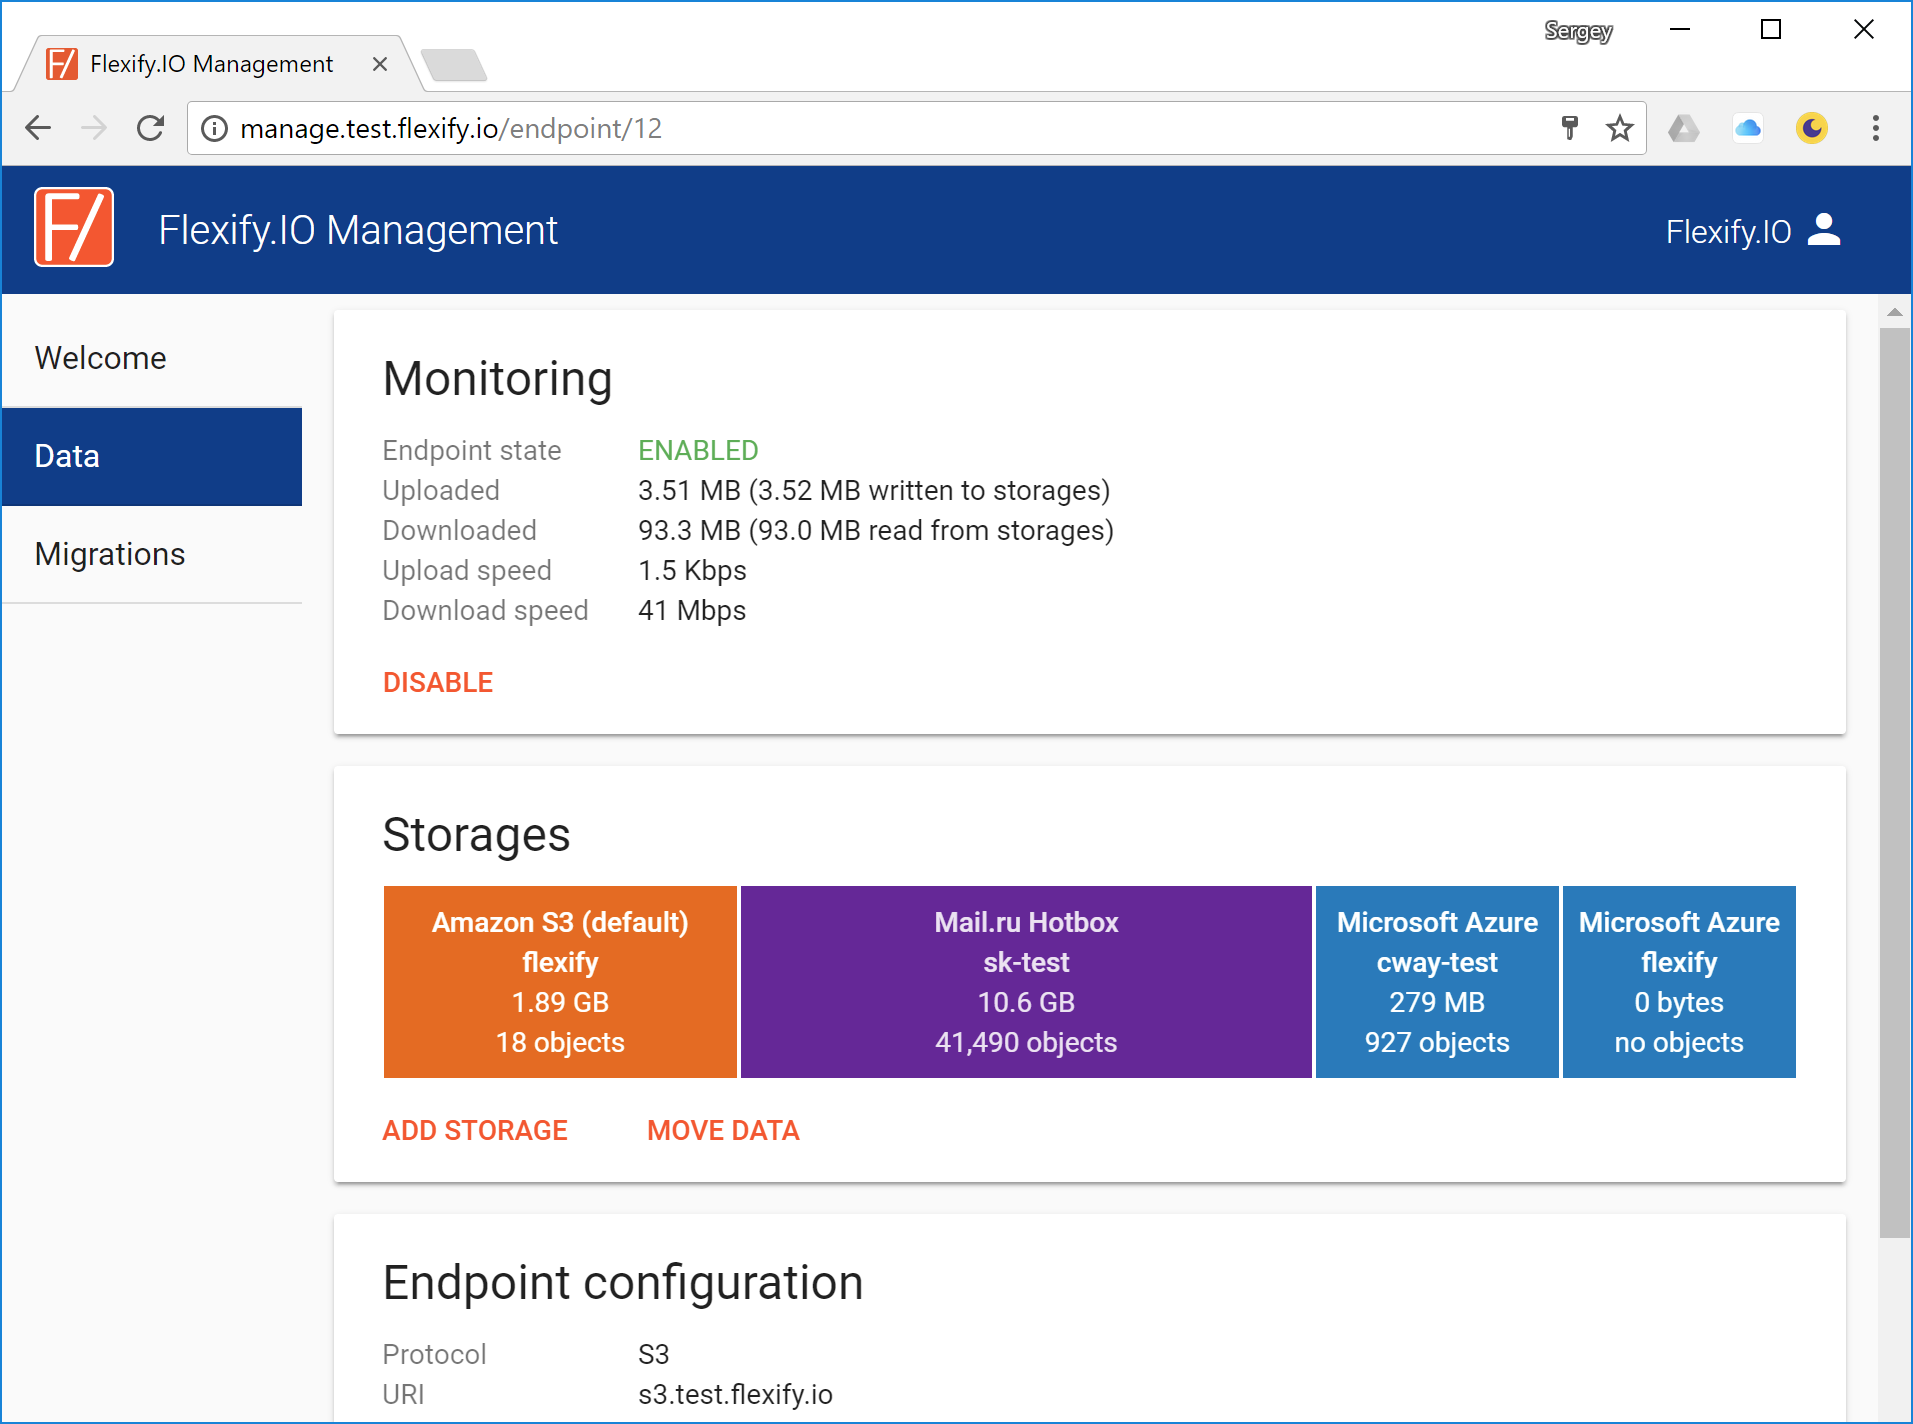
If one or more of your storages are not S3-compatible (such as Microsoft Azure Blob Storage), Flexify.IO will transparently convert protocols so that your application can still work on pure S3.
Setting Default Storage
Whenever your application writes and data – Flexify.IO forwards it to the storage that you designated as the default storage.
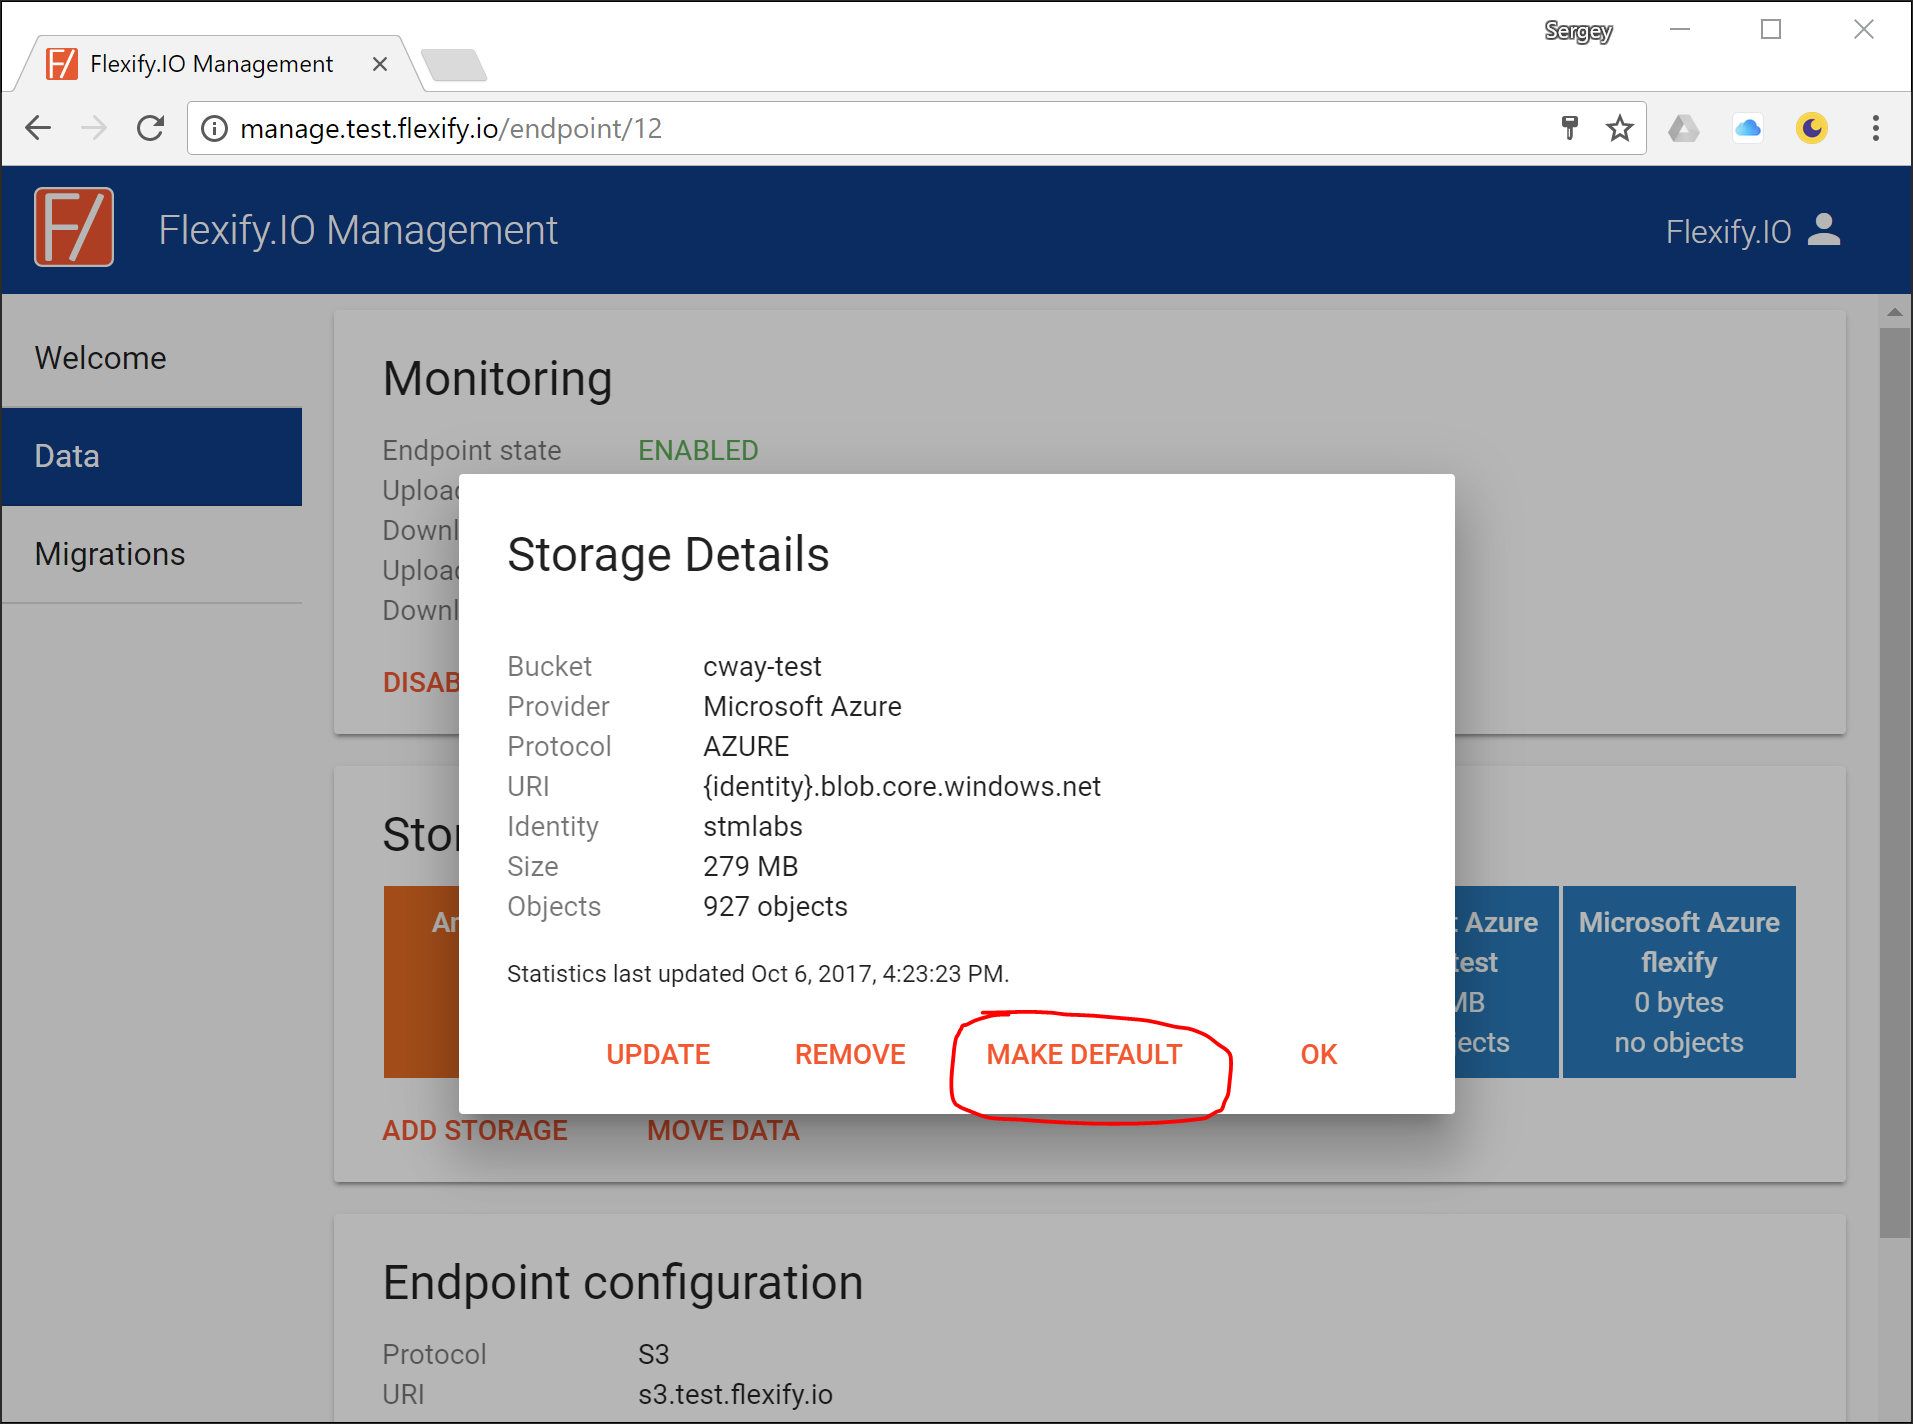
To switch the default storage simply click the storage bar to open Storage Details dialog and click Make Default button.
Moving Your Data
Setting one of your storages as default will eventually relocate your data to that storage as all new and updated objects will be stored in it and removed from their previous storages.
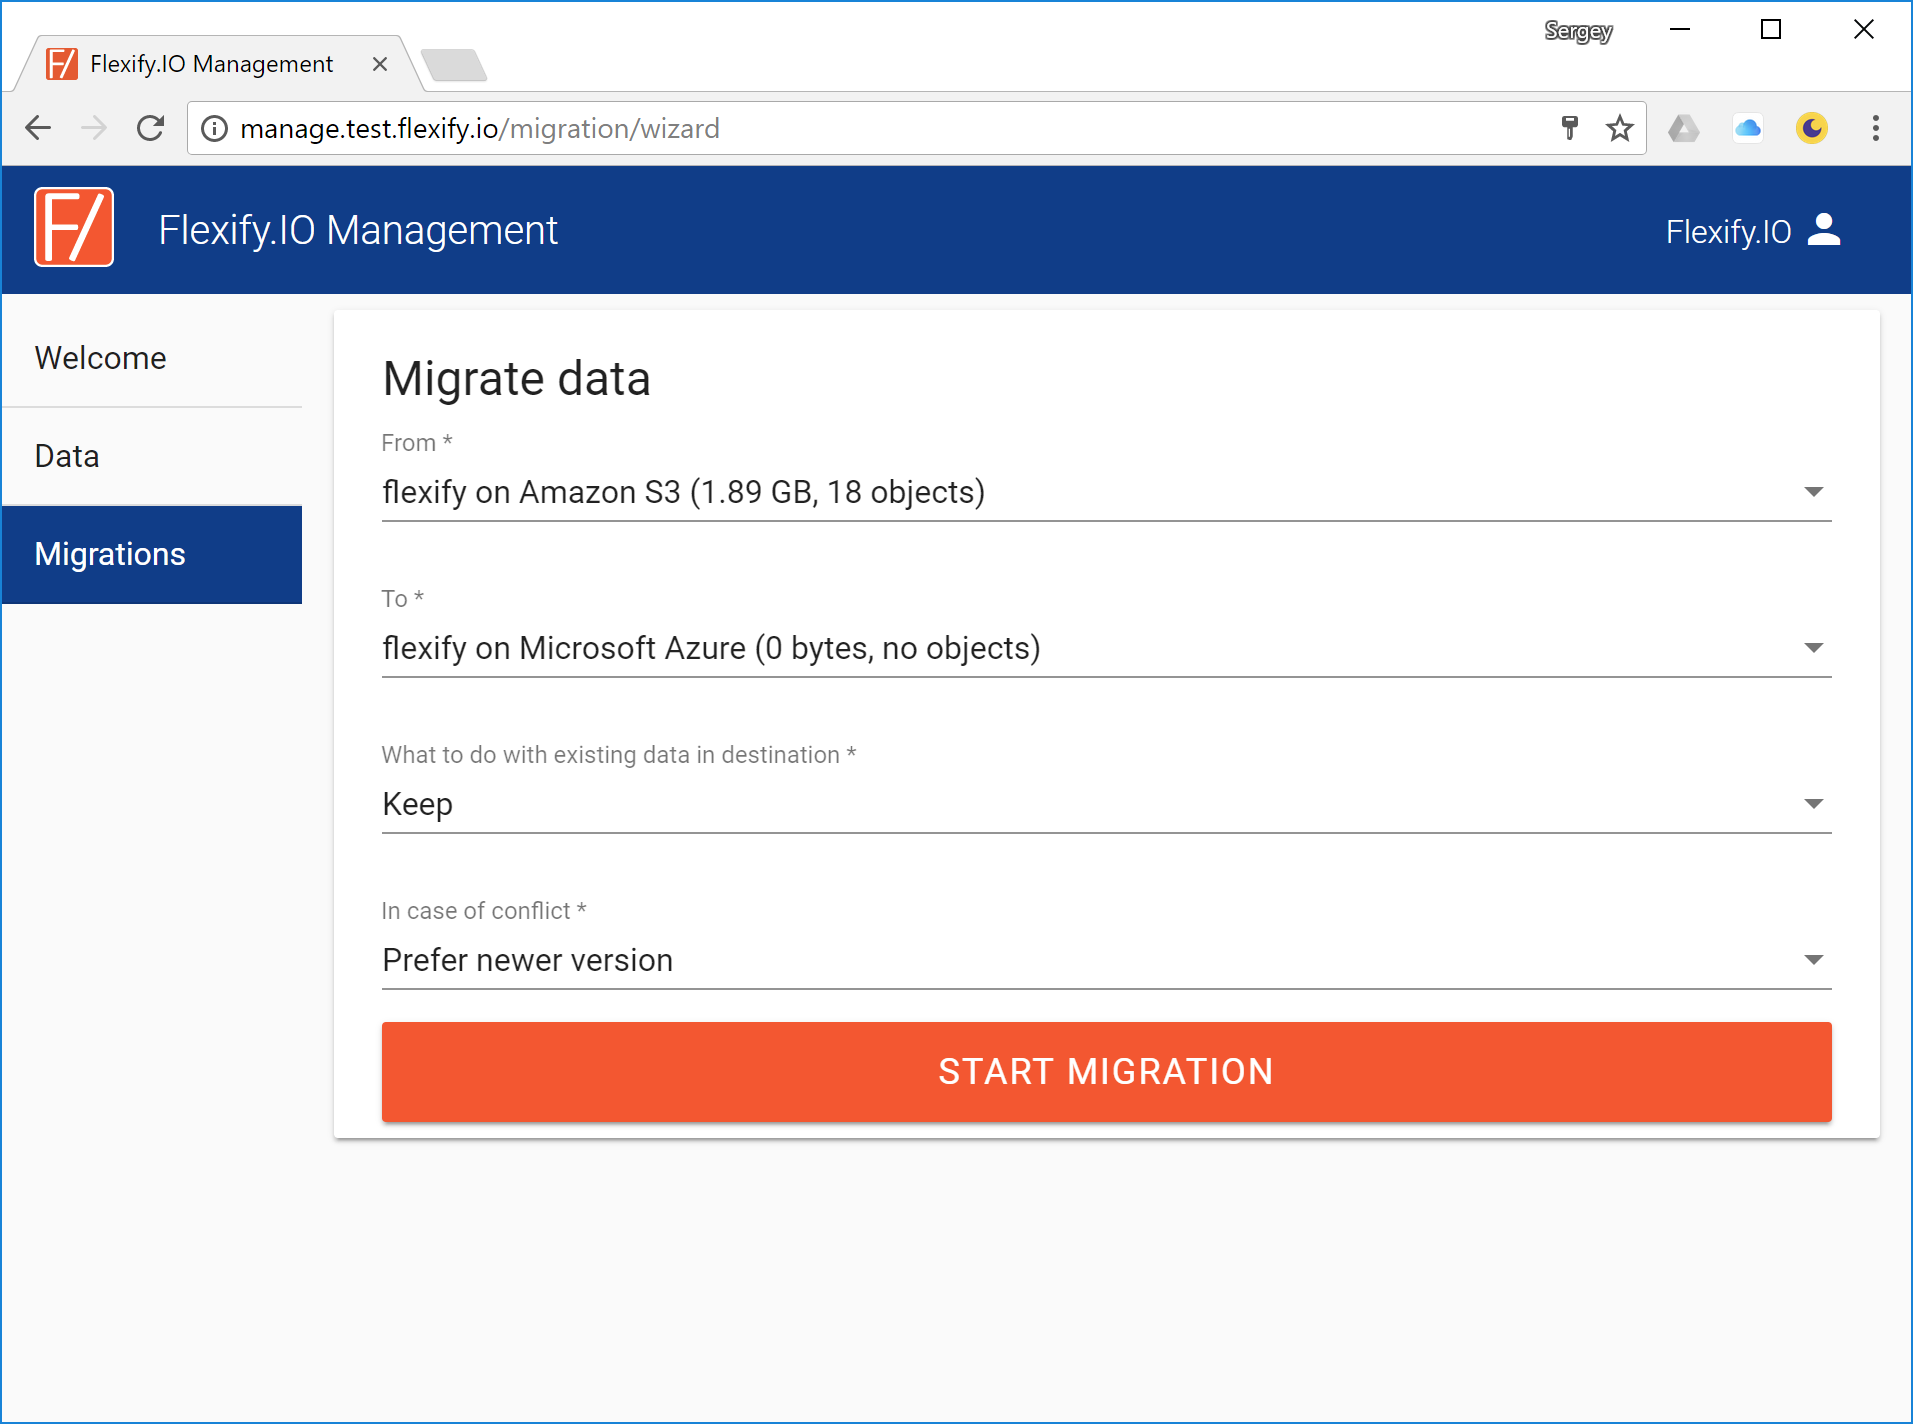
However, if you'd like to migrate your data faster, you can always click Move Data to open Migration Wizard and start explicit data migration.
